How to Build a Rain Garden
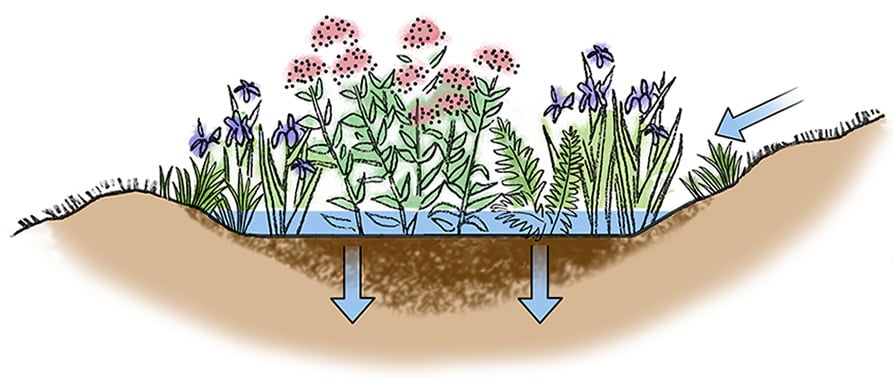 A rain garden collects water runoff and allows it to soak into the ground. Filled with moisture-tolerant plants, it can also be a beautiful addition to a landscape.
Why Build a Rain Garden?
There's a new sort of garden in town. It's easy to install, looks good year-round and has a positive impact on the environment. It's a rain garden.
A rain garden is a special type of garden, designed to collect stormwater runoff from a roof, driveway or other impervious surfaces. Rather than rushing off into a storm sewer or a local waterway, the rainwater collects in a shallow depression in your yard. This area is planted with native grasses and wildflowers that are specially selected for their ability to gradually absorb and filter stormwater.
Rain gardens can have a significant impact on the water quality in our communities! When properly installed, they can:
- Reduce the volume of stormwater runoff.
- Improves water quality. Studies have shown that as much as 70% of the pollution in streams, rivers and lakes has been carried there by stormwater — this is called nonpoint source pollution. By taking responsibility for the rainwater that falls on your own roof and driveway, you'll be helping to protect our rivers, streams and lakes from stormwater pollution.
- Recharge the groundwater by ensuring rainwater infiltrates where it lands in the landscape.
- Provide food and shelter for wildlife, and give you a whole new garden that's hardy, low maintenance and naturally beautiful!
How To Build A Rain Garden
1. Choose The Site
Choose a relatively level spot for the garden with a natural slope (a grade of at least 1%) leading down towards the garden. Ideally this area receives full sun, but at a minimum it should receive a half day of sunlight. Your rain garden should be located at least 10 feet from the house — you want to collect runoff from your roof and other impervious. surfaces, but. you do not want to infiltrate it so close to your house foundation. A few tips for siting your new rain garden:
- Do not place your rain garden over a septic tank or leach. field
- Do not place your rain garden near a drinking well.
- Call Dig Safe® (1-888-DIG-SAFE) to ensure your digging won't interfere with underground utilities and pipes.
- Avoid, if possible, disturbing preexisting tree roots.
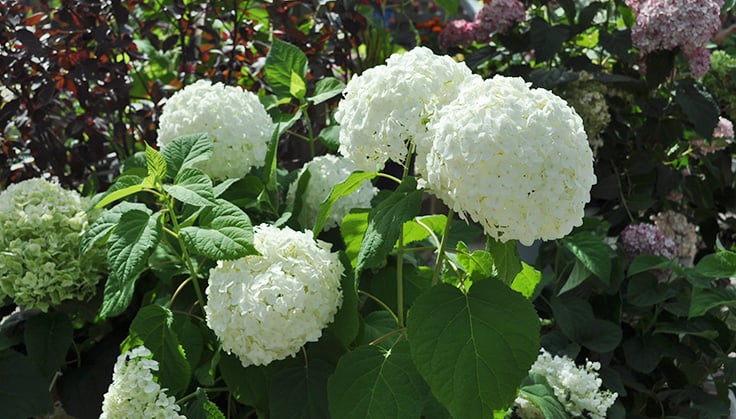 This hydrangea (Hydrangea arborescent 'Annabelle') is a North American native species that happily tolerates damp soils, making it well-suited to a rain garden planting.
2. Size Up The Site
A typical residential rain garden is 100 to 300 square feet, but unless you are addressing a particular regulatory requirement (i.e. installation of a rain garden is a required stormwater mitigation) any size rain garden is perfectly acceptable.
To calculate the drainage area (the area that will drain to the rain garden) from a roof, parking lot, sidewalk, or other impervious surface, multiply the length by the width.
(Length) x (Width) = __________ ft2 (drainage area)
3. Prepare The Soil
Once you've identified the new garden's location, remove the sod and dig a shallow depression approximately 6" deep. Slope the sides gradually from the outside edge to the deepest area. Use the soil that you remove to build up a slightly raised area on the lowest side of the garden. This berm will help contain the stormwater and allow it to percolate slowly through the rain garden.
If your rain garden is no more than about 6" deep, stormwater will usually be absorbed within a one- to seven-day period. Because mosquitoes require seven to 10 days to lay and hatch their eggs, this will help you avoid mosquito problems. If you want to create an area with standing water for fish and amphibians, you can make one part of your rain garden deeper, perhaps as much as 18 inches in the deepest spot. Depending on the type of soil you have (sand, clay, loam), you may need to line that area of the garden with plastic to help retain a small pool of water.
The downspout from your roof or sump pump outlet from your basement should be directed toward your rain garden depression. This can be accomplished by a natural slope, by digging a shallow swale, or by piping the runoff directly to the garden through a buried 4" diameter plastic drain tile.
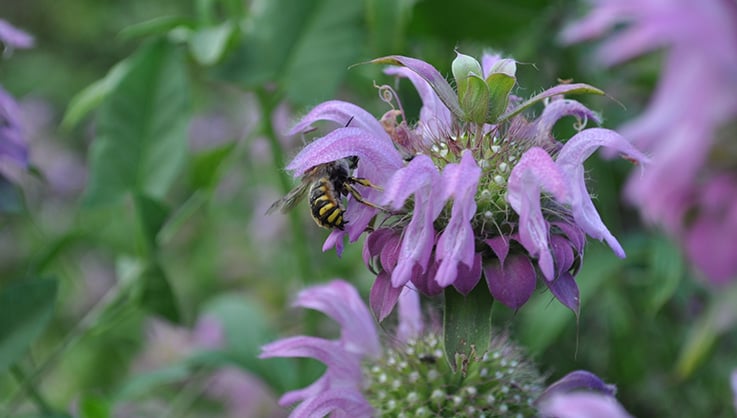 A relative of mint, bee balm is a native plant that thrives (and will spread) in moist soil.
4. Choose Your Plants
Native plants are the best choice for rain gardens. They withstand difficult growing conditions and require little care. When choosing the plants, consider height, bloom time and color. Clumps of three to seven plants of the same variety will look better than a patchwork of singles. Be sure to mix native ornamental grasses and sedges in with your perennial wildflowers to ensure the garden has a strong root mass that will resist erosion and inhibit weed growth.
The following plants are ideal for rain gardens; they are native to North America and can withstand fluctuating water levels in full sun to part shade:
Perennials
- Blue flag iris (Iris versicolor)
- Bottle gentian (Gentiana andrewsii)
- Cardinal flower (Lobelia cardinalis)
- Joe Pye weed (Eupatorium perfoliatum)
- Marsh marigold (Caltha palustris)
- Swamp milkweed (Ascepias incarnata)
- White turtlehead (Chelone glabra)
Shrubs
- Buttonbush (Cephalanthus occidentalis)
- Inkberry (Ilex glabra)
- Smooth alder (Alnus serrulata)
- Red-osier dogwood (Cornus sericea)
- Sweet pepperbush (Clethra alnifolia)
- Ninebark (Physocarpus spp.)
- Virginia sweetspire (Itea virginica)
New plants should be watered every other day for the first two weeks or so. Once they are well established, your garden should thrive without additional watering. Fertilizers will not be necessary, and only minimal weeding will be needed after the first summer of growth.
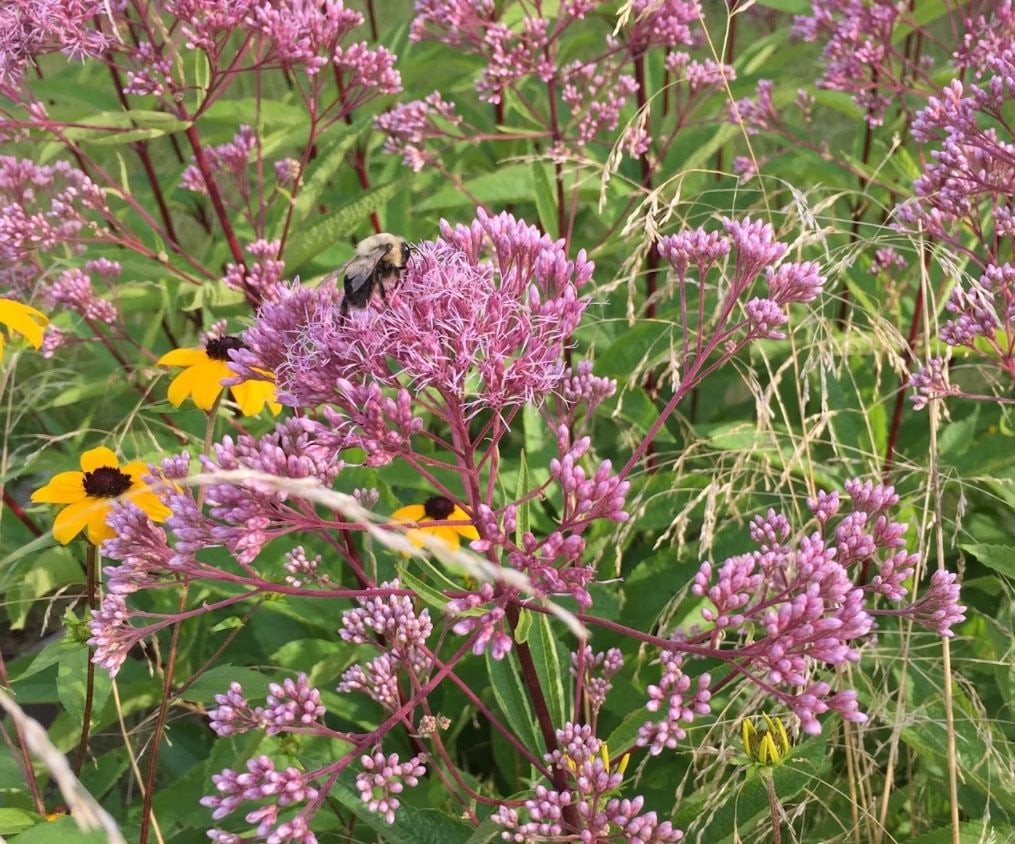 Joe Pye weed (Eupatorium purpureum) is a good perennial plant for a rain garden, and the late summer flowers will attract plenty of pollinators, too. Photo: Amanda Everse
Winter Rain Garden Maintenance
Most rain gardeners wait until early spring to cut back the prior year's growth. Leaving seed heads and spent foliage in place through the winter provides visual interest as well as cover and food for many kinds of wildlife. Once spring comes, burning off the dead material is the best way to knock back weeds and stimulate new growth. If burning is not an option, mow the dead plants or cut them back with a scythe or pruning shears (toss your yard scraps in the compost when done!).
Last updated: 12/21/2023
Print this Article:
Related items
Get the Dirt
Stay up to date on new articles and advice. Please fill out the information below.

